 Bellingham Roofing
 Building New in Birch Bay? Your Windows Are the First Thing the Weather Tests
Birch Bay sits right up against the water, which means every new home going up here takes a different kind of beating than a house a few miles inland in Bellingham proper. Salt-laden air corrodes hardware and fasteners faster than it does anywhere else in Whatcom County. Wind off the water drives rain sideways into wall assemblies, not just straight down. And the long, gray moss season keeps north- and west-facing walls damp for weeks at a stretch, which is exactly the kind of environment that finds every weak seam in a window installation. On a new build, you get one real chance to get the window opening right before siding, trim, and drywall close it up for good. That's the whole case for new-construction windows done correctly the first time.
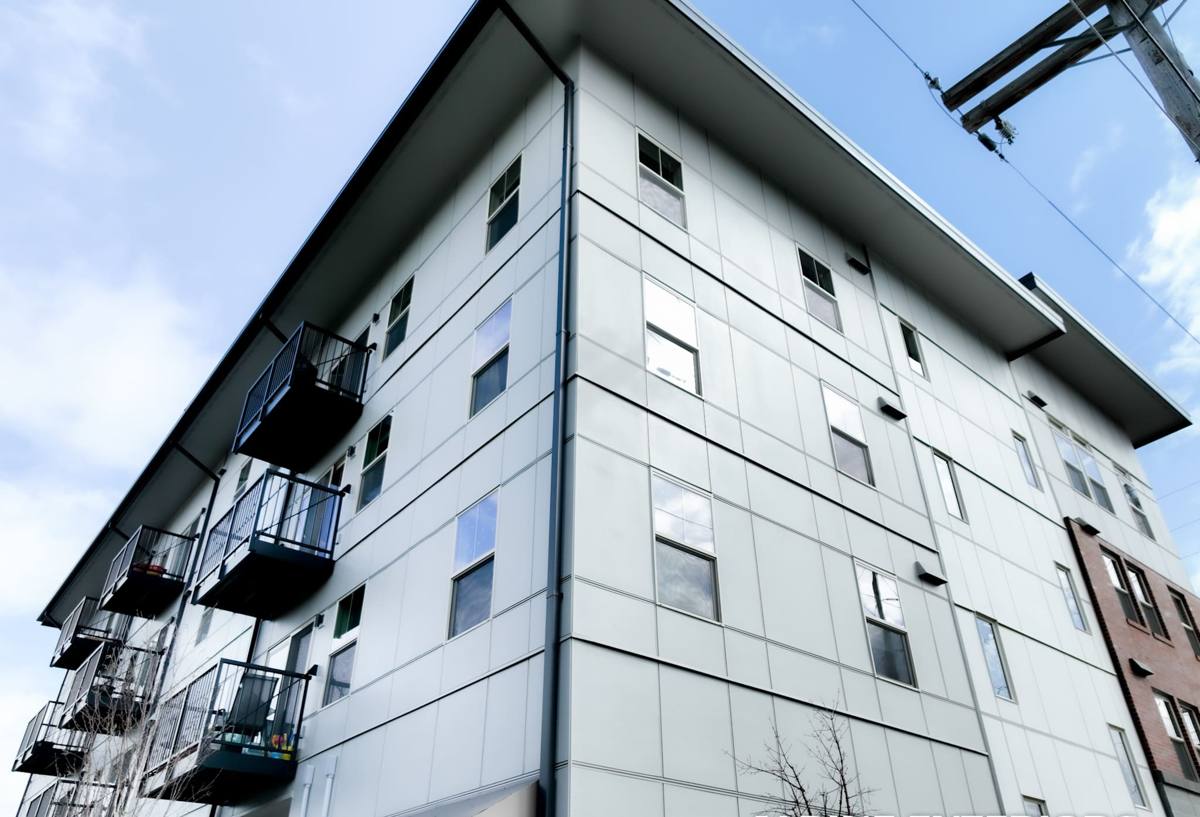
New-Construction vs. Replacement Windows — Why the Distinction Matters on a Birch Bay Build
These aren't interchangeable products. A new-construction window has a nailing fin around the perimeter and is designed to be set into an open, unfinished rough opening before the weather barrier and siding go on. A replacement (or "pocket") window is built to slide into an existing frame with the exterior siding already in place. Using the wrong one, or installing a new-construction window without integrating it properly into the wall's drainage plane, is one of the more common corners cut on spec and custom builds alike.
| Factor | New-Construction Window | Replacement Window |
|---|---|---|
| Installed when | Before siding and WRB are finished | After exterior finish is complete |
| Flashing integration | Fin ties directly into house wrap and sill pan | Relies on existing frame and sealant only |
| Best fit | New homes, additions, full-frame remodels | Swapping out an existing window in an unchanged opening |
| Long-term water management | Full drainage plane control | Depends on condition of original opening |
For a new build in Birch Bay, new-construction windows are the correct product, full stop. The value of that choice only shows up if the installation sequence around the fin is done right, which is where most of the actual skill in this trade lives.
What a Correct New-Construction Window Installation Actually Involves
The window unit itself is a small part of the job. The bigger part is everything around it — the layers that keep wind-driven rain from ever reaching the framing. On a Birch Bay lot, we treat every rough opening like it will see driving rain from the water side at some point in its life, because it will.
The Sequence, in Order
- Rough opening checked for square, level, and correct size before the window ever shows up on site
- Sill pan flashing installed first, sloped to shed water back outward rather than into the wall cavity
- Weather-resistant barrier (house wrap) cut and integrated in the correct shingle-lap order — bottom, sides, then top — so water always sheds down and out
- Window set, shimmed level and plumb, and fastened per the manufacturer's schedule
- Flashing tape applied over the nailing fin at the sides and head, lapped over the house wrap correctly at the top
- Backer rod and sealant at the interior and exterior gaps, sized and placed so the assembly can still drain if any water gets past the first line of defense
Skip or reorder any of these steps and you've built a hidden leak path that won't show itself until years later, usually as rot in the framing or staining on interior drywall — long after the crew that installed it is gone.
Choosing a Frame Material for a Waterfront-Adjacent Home
Frame material matters more here than it does a few miles inland. Salt air accelerates corrosion on hardware, screws, and any exposed metal components, and constant damp cycling stresses seals and finishes differently than a dry climate.
| Frame Type | How It Handles Salt Air & Moisture | Trade-Offs |
|---|---|---|
| Vinyl | Won't corrode; good moisture tolerance | Limited color/finish options; can expand and contract with big temperature swings |
| Fiberglass | Very stable dimensionally, resists corrosion well | Higher upfront cost than vinyl |
| Aluminum-clad wood | Attractive exterior finish, but cladding seams need careful sealing near salt exposure | Needs more attentive install and long-term maintenance of seals |
| Bare aluminum | Poor fit for this environment — prone to corrosion and condensation without thermal breaks | We generally steer builders away from it this close to the water |
We don't push one brand over another — we point clients toward frame materials and hardware finishes (look for marine-grade or corrosion-resistant fastener specs) that hold up under the specific combination of salt air, rain, and temperature swing that Birch Bay sees. What works fine in a subdivision in east Bellingham isn't always the right call a half-mile from the water.
Glass Packages Worth Specifying for This Location
Standard dual-pane, low-E, argon-filled glass is the baseline we recommend for any new build in this part of Whatcom County — it's a reasonable balance of cost and performance for our climate. A few things worth thinking through specifically because of where Birch Bay sits:
- Higher-performance low-E coatings help manage heat loss during the long, damp winter without adding much cost at the new-construction stage
- Condensation resistance matters more on north- and west-facing rooms that stay shaded and cool for long stretches
- Impact-resistant or laminated glass is worth discussing for exposed water-facing elevations, though it's not a requirement most builders need here the way it is in hurricane zones
- Grille and divided-lite options are purely aesthetic and don't affect weather performance one way or the other — choose based on the home's design, not on any durability claim
Our Process for a Birch Bay New-Construction Job
We work new builds and additions in Birch Bay regularly enough that the sequence below is routine for us, not something we're figuring out on your job site.
Before Windows Arrive
We walk the framed openings against the approved window schedule, confirm sizes and swing/operation directions match the plans, and flag any rough-opening issues to the framer before they become a bigger problem downstream.
Install Day
Sill pans, house wrap integration, window setting, and flashing tape all happen in the correct order, with photos of each covered layer taken before the next step buries it — useful for you, your builder, and anyone doing a final inspection.
Before Siding Closes It Up
A final check of every opening's flashing and sealant, since this is the last point where a mistake is cheap and easy to fix. Once siding goes on, correcting a flashing error means tearing part of it back off.
Mistakes We Regularly Catch on New Builds Around Here
- House wrap lapped in the wrong order at the window head, letting water track behind it instead of over it
- Sill pans skipped or installed flat instead of sloped outward
- Fasteners that aren't rated for coastal/corrosive exposure used on fin attachment or hardware
- Flashing tape applied over dusty, wet, or cold framing lumber, so it never actually bonds
- Gaps around the frame filled solid with sealant or spray foam with no drainage path left for water that does get in
- Window schedule mismatches — wrong size or operation type caught only after drywall, forcing costly rework
Why It Matters That We Already Work in Birch Bay
Anyone can install a window on a calm, dry day. What separates a good installation here is understanding how a specific lot sits relative to wind and water exposure, how much moss and algae buildup to expect on shaded elevations, and which small details in the flashing sequence actually matter once winter storms roll in off the water. We're not learning Birch Bay's climate on your project — we've already dealt with what driving rain and salt air do to a poorly sealed opening, and we build every install to avoid repeating those problems.
What New-Construction Window Installation Costs
Pricing on a new build depends on the number and size of openings, frame material, glass package, and how the flashing details interact with your specific wall assembly. We're not going to quote a number here that doesn't match your plans, but the factors below are what actually move the price.
| Cost Factor | Why It Matters |
|---|---|
| Number and size of openings | More labor and material per opening, straightforward driver of total cost |
| Frame material | Vinyl is generally the most affordable; fiberglass and clad-wood cost more upfront |
| Glass package | Upgraded low-E coatings or laminated glass add cost per unit |
| Wall assembly complexity | More flashing detail work needed on complex elevations or unusual siding transitions |
| Site access and timing | Coordinating install around framing and siding schedules affects labor efficiency |
If you're planning a new build or addition in Birch Bay, we're glad to walk your plans, talk through frame and glass options that make sense for a water-adjacent lot, and give you a straightforward, no-pressure estimate. Reach out through the form below to get started.