 Bellingham Roofing
 New-Construction Windows on South Hill: What Actually Matters
South Hill sits up above downtown Bellingham with enough elevation and exposure that homes here take a different kind of weather beating than houses tucked into a valley or sheltered by trees on flatter ground. Wind off Bellingham Bay, long stretches of driving rain, and a moss season that can run most of the year all put extra stress on the one part of a house that's supposed to keep water out while still letting light in: the windows. When you're building new or re-siding down to the studs, new-construction windows are the right tool for the job — but only if the flashing and water management around them are done correctly. That's the part that separates a window that lasts twenty-plus years from one that causes a rot problem behind the siding five years in.
This page covers what new-construction windows are, why they're the correct choice for South Hill new-builds and full re-sides, what a proper install actually involves, and why hiring a crew that already works this neighborhood's housing stock and hillside conditions is worth something real.
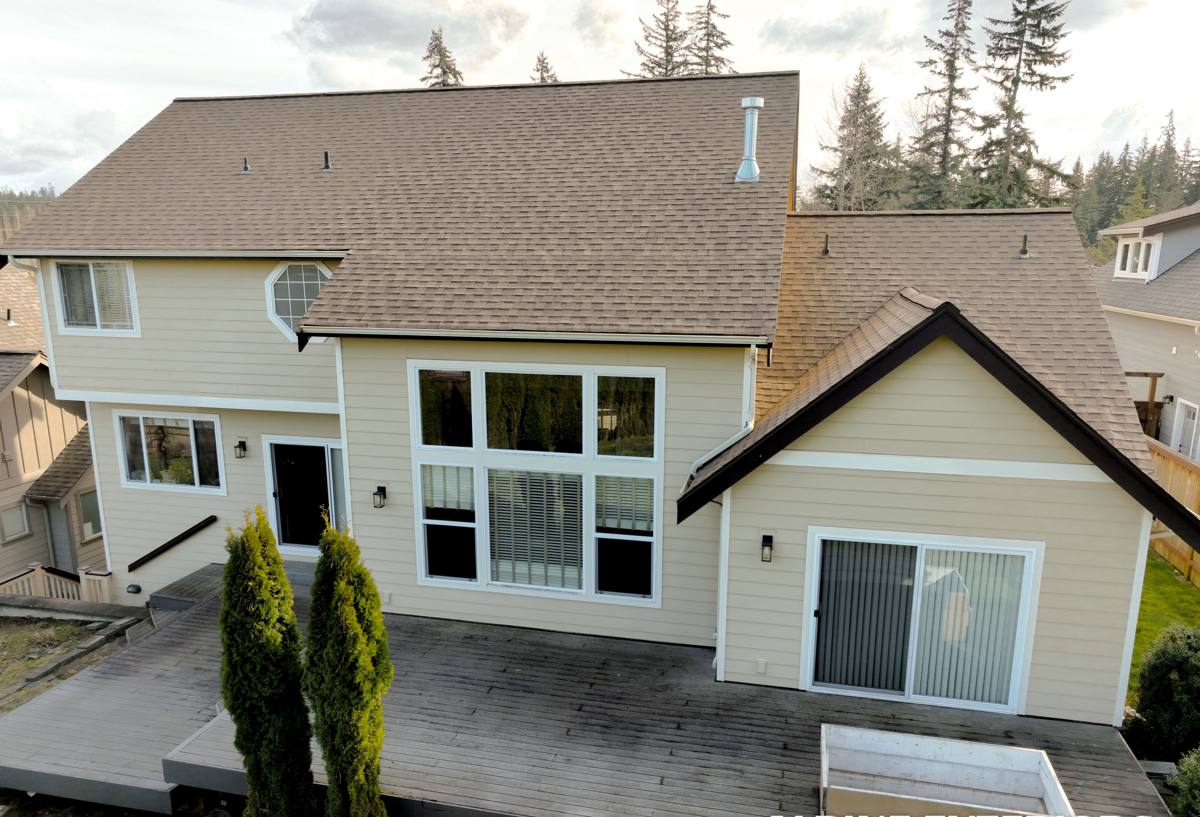
What Whatcom County's Climate Asks of a Window Install
Bellingham and Whatcom County get a lot of rain, but it's the combination of factors that matters more than any single one:
- Salt air: Homes with any bay exposure deal with airborne salt that accelerates corrosion on fasteners, hardware, and unprotected metal flashing over time.
- Driving, wind-driven rain: South Hill's elevation means wind picks up speed before it hits a house, pushing rain sideways into window openings rather than letting it fall straight down and run off.
- A long moss and moisture season: Shade, humidity, and mild temperatures here mean anything that stays damp — a sill, a poorly lapped house wrap, a gap in sealant — stays damp for months, not days. That's exactly the environment where a small installation mistake turns into hidden rot.
- Temperature swings that are mild but constant: Our marine climate doesn't hit extreme highs or lows, but the constant damp-to-dry cycling stresses caulk joints and flashing tape adhesion over the years more than people expect.
None of this means South Hill needs exotic materials. It means the installation details — the parts nobody sees once the siding goes back on — have to be right the first time.
New-Construction Windows vs. Replacement Windows
This is the single most misunderstood distinction in the window world, and it matters a lot for anyone planning a South Hill project.
A new-construction window has a nailing flange around the perimeter of the frame. It's installed into a rough opening before the exterior finish (siding, house wrap laps, trim) is complete, so the flange can be integrated directly into the weather-resistive barrier and flashing system. A replacement (pocket) window has no flange — it's sized to fit inside the existing window frame, with the old frame staying in place. Replacement windows are the right call when the exterior siding and trim are staying put and you just want new glass and sash. New-construction windows are the right call for actual new construction, additions, and any project where the siding is coming off anyway.
| Factor | New-Construction Window | Replacement Window |
|---|---|---|
| Best used when | New build, addition, or full re-side down to the sheathing | Siding and trim staying in place, old frame is sound |
| Flashing integration | Fully integrated with house wrap and sill pan — the best possible seal | Relies on the condition of the existing frame and old flashing |
| Rough opening size | Set to exact new window dimensions | Limited by the existing opening |
| Labor | More involved — exterior trim and siding work included | Faster, less invasive, no siding disturbance |
| Long-term moisture risk | Lowest, when flashed correctly | Depends entirely on hidden condition of old opening |
If you're planning a South Hill new build or a project where the exterior wall is being opened up anyway, new-construction windows give you the chance to get the water management right from scratch — which matters more here than in a drier climate.
What a Correct New-Construction Install Actually Involves
Sill Pan and Sloped Drainage
Every rough opening should get a sloped sill pan so that any water that gets past the window — and eventually, some always does — drains back outward instead of sitting on the sill or draining into the wall cavity. On a hill with driving rain, skipping this step is one of the more common causes of hidden rot we get called to fix later.
Flashing Sequence (Shingle-Lap Order)
Flashing tape and house wrap have to be layered like shingles on a roof — each layer overlapping the one below it — so water is always directed outward and down, never trapped behind a layer that laps the wrong way. This is a detail that's invisible once siding goes on, which is exactly why it has to be verified during the install, not assumed.
Nailing Flange Attachment
The flange gets fastened per the window manufacturer's schedule, with corrosion-resistant fasteners given the salt-air exposure many South Hill homes get. Under-fastening lets a window rack or leak under wind load; over-fastening or fastening through unsupported flange sections can crack vinyl or distort a frame.
Sealant and Backer Rod at the Interior and Exterior
Exterior sealant sheds bulk water; interior air-sealing controls condensation and drafts. These are two different jobs done with two different materials, and treating them as one step is a common shortcut that shows up later as fogging or drafts.
Weep Path and Drainage Plane Continuity
The window's weep holes and the wall's drainage plane need to work together, not against each other. A window installed correctly but into a wall system with a broken drainage plane will still leak eventually.
Our Process on a South Hill Project
- On-site assessment: We look at wall orientation, exposure to prevailing wind and rain, existing house wrap or sheathing condition, and rough opening sizes before quoting anything.
- Window selection walk-through: Frame material, glazing package, and sizing discussed against your budget and the specific exposure of each wall — a north wall facing prevailing weather doesn't need the same spec as a sheltered south wall.
- Opening prep: Old material removed if applicable, sheathing checked for hidden damage, sill pans installed.
- Flashing and window set: Windows set plumb, level, and square, flanges flashed in correct shingle-lap order, shimmed to manufacturer spec.
- Interior and exterior sealing: Air-sealed inside, weather-sealed outside, with attention to how the wall's drainage plane ties in.
- Trim and final inspection: Exterior trim and siding tie-in completed, then a final walk-through with photos of the flashing work before it's covered, so you have a record of what's behind your walls.
Frame Material and Glazing: What Actually Matters Here
We don't push one brand or material as universally "best" — every option is a set of trade-offs, and the right call depends on your budget, the wall's exposure, and how the window will be maintained over time.
- Vinyl frames handle our damp climate well and need very little maintenance, though quality varies a lot between manufacturers — reinforced corners and multi-chambered frames perform noticeably better in wind-driven rain than budget-grade vinyl.
- Fiberglass frames expand and contract closer to glass than vinyl does, which can mean tighter long-term seals, at a higher upfront cost.
- Wood and wood-clad frames look great and perform well when properly maintained, but they demand more upkeep in a climate where moss and moisture are a near-constant presence — that's a real maintenance commitment, not a flaw in the product itself.
- Dual-pane, Low-E glass with argon fill is close to standard for our region at this point — it manages both our mild-but-persistent damp cold and the condensation risk that comes with a high-humidity climate.
Our standard is to match the frame and glazing package to the wall's actual exposure rather than spec every window on a house identically — a west-facing wall catching driving rain off the hill often justifies a step up from a sheltered wall.
Why a Crew That Already Works South Hill Matters
South Hill's mix of older homes, newer infill construction, and hillside lots creates a few recurring wrinkles that a crew unfamiliar with the neighborhood tends to learn the hard way:
- Access and staging on sloped lots: Steep driveways and limited street parking change how materials get staged and how scaffolding or ladders get placed safely.
- Mixed housing stock: Older framing and newer construction call for different rough-opening and flashing approaches — assuming one method fits every house here leads to mistakes.
- Weather-window scheduling: Opening up a wall in Whatcom County means planning around actual dry windows, not just the calendar, and having a plan to dry-in an opening fast if weather turns mid-project.
- Local permitting and inspection familiarity: Knowing what the City of Bellingham or Whatcom County building department expects to see on a new-construction window job means fewer delays and re-inspections.
Cost Factors on a New-Construction Window Project
| Factor | Why It Moves the Price |
|---|---|
| Number and size of openings | More or larger openings mean more flashing, framing, and labor hours |
| Frame material | Vinyl, fiberglass, and wood-clad carry different material costs and labor considerations |
| Wall exposure and access | Hillside lots, steep grades, or hard-to-reach upper-story openings add labor time |
| Condition of the existing sheathing/framing | Hidden rot or damage found during opening prep adds repair scope |
| Trim and siding tie-in | Matching existing trim profiles or siding adds finish-carpentry time |
| Permitting | New-construction window work on an addition or re-side typically requires permits and inspection scheduling |
Because of these variables, an honest quote for South Hill new-construction windows always follows an on-site look at the actual walls and openings — broad per-window pricing without that step usually misses something.
A Homeowner's Pre-Install Checklist
- Confirm whether your project calls for new-construction (flanged) windows or replacement (pocket) windows — don't let a contractor default to one without explaining why.
- Ask what sill pan and flashing method will be used, and ask to see it before siding covers it up.
- Get the glazing spec (Low-E coating, gas fill, pane count) in writing, not just "energy efficient."
- Ask how fastener corrosion resistance is handled given salt-air exposure, especially on bay-facing walls.
- Confirm who pulls the permit and schedules inspections.
- Ask what happens if weather turns mid-project and an opening needs to be temporarily dried in.
- Request photos of the flashing and sill pan work before the wall is closed up.
If you're planning a new build, addition, or full re-side on South Hill and want windows installed the right way the first time, we're happy to walk your project with you and put together a straightforward, no-pressure estimate. There's a form below — reach out and we'll take a look.