 Bellingham Roofing
 Building New in Sudden Valley Means Getting Windows Right the First Time
New-construction windows are a different job than swapping out an old unit in a house that's already standing. On a new build, the window goes in before the siding, while the wall is still open enough to see the sheathing, the weather-resistive barrier, and the framing around every rough opening. That's an advantage, because it means the whole water-management system around the window can be built correctly instead of patched around later. It's also the reason the job has to be done right the first time. Once siding, trim, and interior finishes go on, the flashing details behind them are covered for good. If something was skipped or done out of sequence, nobody finds out until there's a stain on a wall or soft wood around a sill years down the road.
For homes going up in Sudden Valley, that margin for error is even smaller. This is a heavily wooded, lake-adjacent community in unincorporated Whatcom County, and the combination of shade, moisture, and long stretches of wet weather puts more demand on a window's flashing and sealant details than a typical in-town lot. We approach new-construction window work here as a system, not a product drop-off — measuring, flashing, and sealing to the same standard whether the crew framing the house is ours or someone else's.
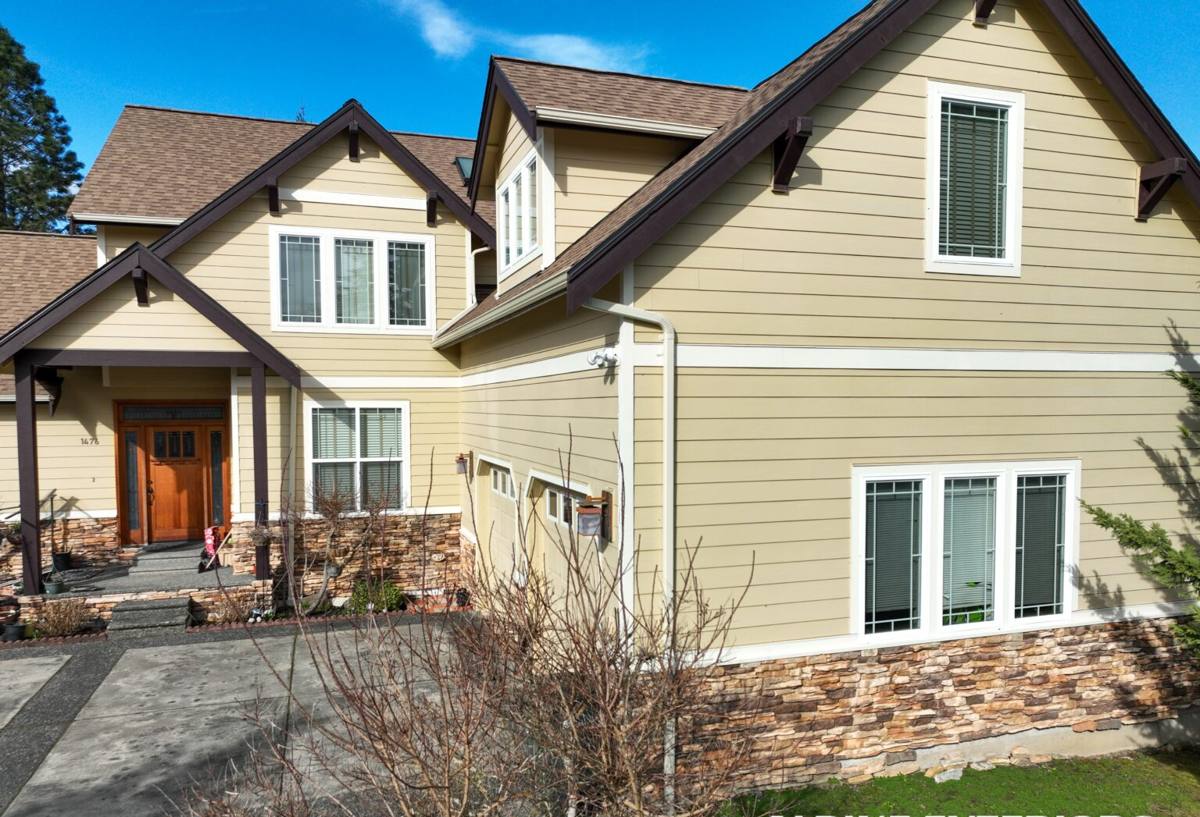
Why Sudden Valley's Setting Changes the Window Equation
Whatcom County's broader climate is already tough on building envelopes — salt-tinged marine air off Bellingham Bay, driving rain that comes in sideways during winter storms, and a moss season that can stretch for most of the year. Sudden Valley adds its own layer on top of that. Many lots sit under significant tree canopy around Lake Whatcom, which means less direct sun on north- and west-facing walls, slower drying after rain, and more sustained dampness clinging to siding, trim, and window perimeters than a lot in open sun would see.
That shade and moisture combination is exactly what moss and algae need to take hold on sills, tracks, and the trim boards around windows. It's also why a sill pan that doesn't drain properly, or a sealant joint that traps water instead of shedding it, causes problems faster here than it might elsewhere. A correctly built window opening sheds water outward and downward at every layer, so it doesn't matter how much shade or rain the wall sees over time — the water never gets a place to sit.
What a Correct New-Construction Window Install Actually Involves
Rough Opening Prep and Flashing Sequence
Before a window ever gets set, the rough opening needs a sloped sill pan with a back dam, so any water that gets past the window drains back out to the exterior instead of pooling on the sill or running into the wall cavity. From there, flashing has to integrate with the weather-resistive barrier in the correct shingle-lap order — sill first, then jambs, then head flashing with a drip cap — so water is always directed down and out over the layer below it, never up and under. Get that sequence backward and you've built a funnel instead of a drain.
Sealing and Insulating Without Trapping Moisture
Backer rod and sealant go at specific joints on the interior and exterior, and low-expansion foam fills the gap between the frame and rough opening for insulation and air sealing. The mistake we see most often on new builds isn't too little sealant — it's sealant used as a substitute for proper flashing, or applied in a way that seals in moisture that gets past the exterior cladding instead of letting it drain and dry. A window opening should still be able to breathe and drain even after every joint is sealed.
Meeting Washington's Energy Code in a Marine Climate
Washington's energy code places homes on this side of the state in a marine climate zone, which sets minimum U-factor and solar heat gain coefficient requirements for new windows. Every code-compliant window carries an NFRC label showing these ratings, and it's worth confirming those numbers match what your building plans call for before installation day — not after. In a shaded, damp setting like Sudden Valley, condensation resistance also matters more than the code minimums alone suggest, since cooler wall temperatures and higher ambient humidity make interior condensation more likely on an under-performing window.
Choosing a Window Frame Material for a Wooded, Damp Lot
Frame material affects how a window handles years of shade and moisture exposure, not just how it looks on move-in day. Here's how the common options stack up for a build like this:
| Frame Material | Moisture Tolerance | Maintenance | Typical Fit for Sudden Valley |
|---|---|---|---|
| Vinyl | Good — won't rot, low water absorption | Low — occasional cleaning | Solid, cost-effective default for most builds |
| Fiberglass | Very good — dimensionally stable in wet/dry swings | Low | Strong choice for heavily shaded, damp lots |
| Wood or wood-clad | Depends heavily on finish and upkeep | High — finish needs regular attention | Best where owners commit to ongoing exterior maintenance |
| Aluminum | Durable but conducts heat/cold | Low | Less common for residential in this climate due to condensation risk |
None of these is automatically wrong for a Sudden Valley build. The right call depends on how much sun a given elevation actually gets, how the home is oriented on the lot, and how much exterior upkeep the owner wants to take on over time.
Coordinating New-Construction Windows With Your Builder's Schedule
New-construction windows are ordered off a set of approved plans and delivered to hit a specific point in the framing schedule — usually right around dry-in. If windows are late, wrong-sized, or missing hardware, the whole crew stalls behind them. We coordinate directly with the general contractor's schedule rather than working off assumptions, confirming rough opening dimensions against manufacturer specs before the order goes in, not after the frames show up.
Sudden Valley adds a logistics layer of its own. It's a private, member-governed community with its own roads and gated access, so delivery trucks and crews need advance coordination, and some heavily wooded lots have limited space to stage materials near the house. If your lot falls under the community's architectural or design review process, it's also worth checking early whether window style, trim, or color needs approval before ordering — that's a conversation to have with the association, not something to leave until installation week.
Common Mistakes We Find on New Builds
Most window problems we're called out to fix on newer homes trace back to a handful of repeatable shortcuts taken during the original install:
- No sill pan flashing, or one that doesn't actually slope to drain
- Sealant used in place of proper flashing instead of alongside it
- Weather-resistive barrier lapped in the wrong order around the opening
- Rough openings cut too tight or too loose relative to the window's actual dimensions
- Insufficient shimming, leaving the frame able to rack out of square over time
Every one of these is preventable with a correct sequence and a few extra minutes of attention — the cost of doing it right the first time is nowhere near the cost of opening up a wall to fix water damage later.
Our Process for New-Construction Window Installs
- Confirm rough opening dimensions against approved plans and manufacturer specifications
- Install sloped sill pan flashing with a back dam at every opening
- Integrate jamb and head flashing with the home's weather-resistive barrier in correct shingle-lap order
- Set the window plumb, level, and square, with full shim support at every fastening point
- Fasten per manufacturer schedule and insulate the gap with low-expansion foam
- Seal designated joints with backer rod and sealant, leaving drainage paths clear
- Photo-document flashing details before they're covered by siding, for your records and warranty file
- Final walk-through with the builder and homeowner before the next trade closes in the wall
Living With New Windows in a Wooded Lake Setting
A correctly installed window still needs a little seasonal attention in a shaded, damp environment like Sudden Valley. Keeping ahead of it is simple and cheap compared to any repair down the line:
- Keep gutters and drip caps clear of needles and leaf litter so water doesn't back up over head flashing
- Trim back vegetation that's shading a wall more than necessary, to let it get some sun and airflow
- Rinse moss, pollen, and algae off sills and tracks each season before it builds up and holds moisture
- Check exterior sealant joints once a year for cracking or separation
- Make sure weep holes at the base of the frame stay clear so the window can drain as designed
What Drives the Cost of a New-Construction Window Package
Pricing on new-construction windows varies by project, but the main factors are consistent across builds in this area:
| Factor | Why It Matters |
|---|---|
| Frame material | Fiberglass and wood-clad typically cost more upfront than vinyl |
| Window count and size | Larger openings and more units mean more material and labor |
| Energy performance upgrades | Higher-performance glass packages add cost but reduce long-term energy use |
| Flashing and access complexity | Tall walls, tight lots, or unusual openings add install time |
| Site logistics | Gated access, private roads, and limited staging space affect scheduling and delivery |
As a rough range across the trade in this region, homeowners can generally expect somewhere in the neighborhood of $500 to $1,500 or more per window installed, depending on those factors — a number that's only useful as a starting point until we've seen your plans.
Get a Straight Answer Before You Order
If you're building in Sudden Valley and want a second set of eyes on your window plans, rough openings, or flashing details before the order goes in, we're happy to take a look. Reach out for a free, no-pressure estimate using the form below — no obligation, just a straight answer about what your build actually needs.