 Bellingham Roofing
 New-Construction Windows vs. Replacement Windows — Why the Difference Matters in Cordata
Cordata has seen a steady run of new single-family homes, townhomes, and infill lots over the past several years, and that means a steady run of new-construction window installs alongside the more familiar replacement work most Bellingham crews are used to. The two jobs look similar from the curb but are almost nothing alike once you're inside the wall.
New-construction windows are installed with a nailing fin (also called a nailing flange) that fastens directly to the sheathing before siding goes on. The window becomes part of the building envelope from day one — its flashing has to integrate with the house wrap, the sill pan, and the framing in a specific sequence. Replacement or "pocket" windows, by contrast, get inserted into an existing frame with the exterior trim and siding already in place, which limits how much of that flashing detail you can actually see or correct.
| Factor | New-Construction (Fin) Window | Replacement (Pocket) Window |
|---|---|---|
| Installation stage | After sheathing/house wrap, before siding | Existing wall, siding often stays in place |
| Flashing access | Full access to sill pan, tape, and fin | Limited — relies on existing frame condition |
| Best suited for | New builds, additions, full siding tear-offs | Sound existing frames, cosmetic/efficiency upgrades |
| Long-term risk if done wrong | Hidden water intrusion behind siding | Air leakage, condensation at the old frame |
Getting a new-construction install right the first time matters more here than almost anywhere else, because once the siding closes up that wall, the flashing work underneath is not something anyone is going to open back up to check.
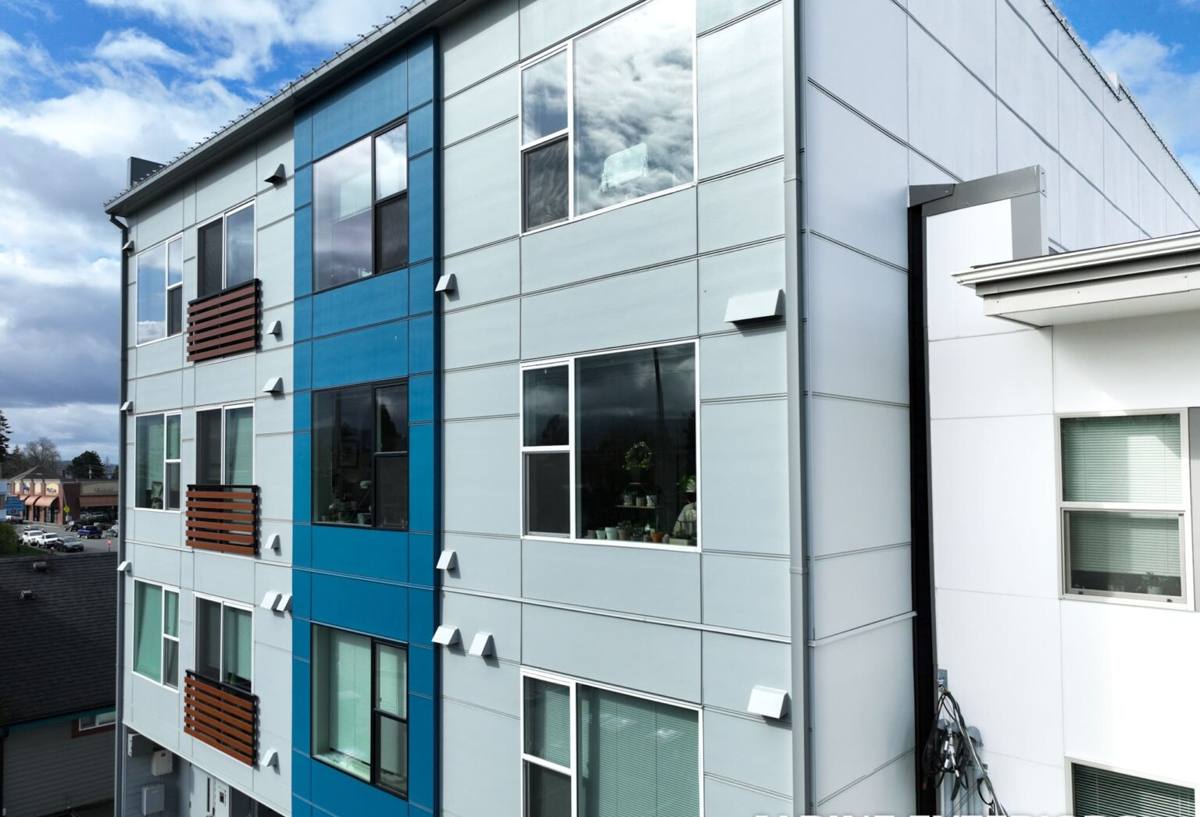
What Bellingham's Marine Climate Does to a New Window Install
Whatcom County sits in a marine climate with a lot of driving rain, wind that regularly comes off the water, and salt-tinged air that's harder on hardware and finishes than an inland climate would be. Add in a moss and algae season that stretches from fall through spring, and you've got conditions that punish any weak point in a building envelope faster than drier parts of the state.
For a new-construction window, that means three things in practice:
- Wind-driven rain can push water sideways and upward against a wall, so flashing has to shed water down and out, not just rely on gravity from a straight-down rain.
- Salt air accelerates corrosion on unprotected fasteners and lesser hardware, which is why fastener spec and frame material choice both matter more here than in a dry climate.
- Long wet seasons mean any gap in the weather-resistive barrier around a window has months, not weeks, to do damage before a dry stretch gives it a chance to recover.
None of this is exotic — it's standard marine-climate building science — but it only pays off if the crew installing the window actually follows the sequence instead of rushing it to keep pace with a framing or siding schedule.
The Anatomy of a Correct New-Construction Window Install
A correctly installed new-construction window is mostly invisible once the siding goes on, which is exactly the problem — homeowners and even some GCs have no easy way to verify the work after the fact. Here's what should be true underneath, whether or not anyone ever checks:
- Rough opening (R.O.) measured and verified against the window's actual manufactured dimensions before it's set, not just against the plan spec
- Sill pan flashing installed at the base of the opening to catch and direct any water that gets past the window itself
- Self-adhered flashing tape applied in proper shingle-lap order — sides first, then head — so water always drains over the layer below it, never behind it
- Nailing fin fastened per the manufacturer's schedule, not just "enough nails to hold it"
- Window shimmed for square, plumb, and level before any fastener is set permanently
- Backer rod and sealant at the interior gap between frame and rough opening for air sealing
- House wrap integrated over the head flange and taped at all seams so the whole assembly drains as one system
Skip or rush any one of these steps and the window can still look fine, pass a casual walkthrough, and still leak two or three winters later — usually right when it's least convenient to find out.
Sill Pan Flashing and Water Management — the Part Nobody Sees
If there's one detail that separates a durable install from a callback waiting to happen, it's the sill pan. Every window opening, no matter how well the head and side flashing is done, will eventually see some water reach the sill — through a failed seal, a wind-driven splash, or normal condensation. A sill pan gives that water a sloped, waterproof path back outside instead of letting it sit against bare sheathing or framing.
In a climate with as much sustained rain as Whatcom County gets, we treat sill pan flashing as non-negotiable on every new-construction opening, not an upgrade. It's a small amount of extra material and labor at install time versus a wall cavity that stays wet for months if it's skipped.
Common Shortcuts We Won't Take
Caulk-only sealing without proper flashing tape, reusing house wrap cuts instead of re-lapping them correctly around the opening, and setting a window before the sill pan has fully cured or set — these are all ways to save an hour on a busy framing schedule that cost far more in repair work later. We'd rather explain a slightly slower sequence to a builder than explain a stained ceiling to a homeowner two years after closing.
Choosing Frame Material and Glass for a Marine Climate
New construction gives you a real choice of frame material, since you're not constrained by an existing opening or trim profile. In Bellingham's climate, the practical trade-offs come down to moisture tolerance, maintenance, and how the frame handles temperature swings between our cool damp winters and warmer summers.
| Frame Material | Moisture Behavior | Maintenance | Typical Use |
|---|---|---|---|
| Vinyl | Won't rot; handles marine moisture well | Low — occasional cleaning | Most standard new-construction builds |
| Fiberglass | Very stable in wet, temperature-swinging climates | Low | Higher-end builds, larger openings |
| Wood-clad | Needs sound exterior cladding to stay protected | Higher — finish upkeep on any exposed wood | Where interior wood look is a priority |
On glass, Washington's energy code sets minimum performance requirements for new construction, and our marine climate zone pushes toward better-performing U-factors than you'd need in a drier, sunnier part of the state. We spec glass packages to meet or beat code on every job rather than treating the minimum as a target — it costs little more at install time and pays back in comfort and lower heating bills through our long wet winters.
Our Process, Start to Finish
- Plan review and R.O. verification — we confirm rough opening sizes against the actual window order before anything ships, catching mismatches while they're still cheap to fix.
- Material and glass selection — matched to the home's design and Washington energy code requirements for our climate zone.
- Sill pan and flashing sequence — installed in the correct shingle-lap order described above, on every opening, every time.
- Window set and fastening — shimmed square, plumb, and level, fastened per manufacturer spec.
- House wrap integration — head flap taped down, all seams sealed so the assembly drains as a single system before siding closes it in.
- Interior air sealing and trim-ready handoff — backer rod and sealant set, opening left clean and ready for interior finish work.
We document the flashing steps as we go, since that's the one part of the job that becomes impossible to verify once the siding is up.
Working With Your Builder or GC on a Cordata Project
New-construction window work almost always happens inside someone else's schedule — a general contractor's framing and siding sequence, often on a multi-lot subdivision timeline where several homes are moving at once. A crew that's used to that rhythm in Cordata specifically knows how to slot window installs in at the right point without holding up siding crews or getting rushed past the flashing steps that actually matter.
That local familiarity also means fewer surprises with inspection timing and fewer back-and-forth delays waiting on a crew that has to learn the neighborhood's builders and site conditions from scratch.
Why a Crew That Already Works Cordata Matters
Bellingham's marine climate doesn't forgive shortcuts, and new construction only gets one shot at the flashing before it's buried under siding for the life of the house. A crew that's already installed windows on other Cordata builds has seen how the local rain and wind actually behave against these lots, knows the pace builders in the area expect, and isn't learning marine-climate flashing detail for the first time on your project. That experience shows up years later as a wall that's still dry, not as a callback.
If you're building or finishing a home in Cordata and want windows installed the way this climate actually requires, we're happy to walk the plans with you and put together a free, no-pressure estimate — just fill out the form below.