 Bellingham Roofing
 Building New in Happy Valley: What the Windows Have to Handle
Happy Valley sits in the wetter, greener end of a wet, green county. Homes going up here deal with the same year-round moisture load as the rest of Bellingham, but the neighborhood's mature tree cover and mix of shaded, sloped lots add their own wrinkles: slower-drying siding, more standing shade on north and east elevations, and a longer moss and algae season than you'd see on an open, sun-exposed lot. Salt-laden air off the Sound and Whatcom County's steady driving rain don't care whether a house is brand new or fifty years old — they attack fasteners, sealants, and finishes the same way from day one.
That means the windows going into a new Happy Valley build aren't just a design choice. They're one of the first weather-resistance decisions made on the project, and the installation has to be right the first time — there's no siding or trim to pull back later without real cost.
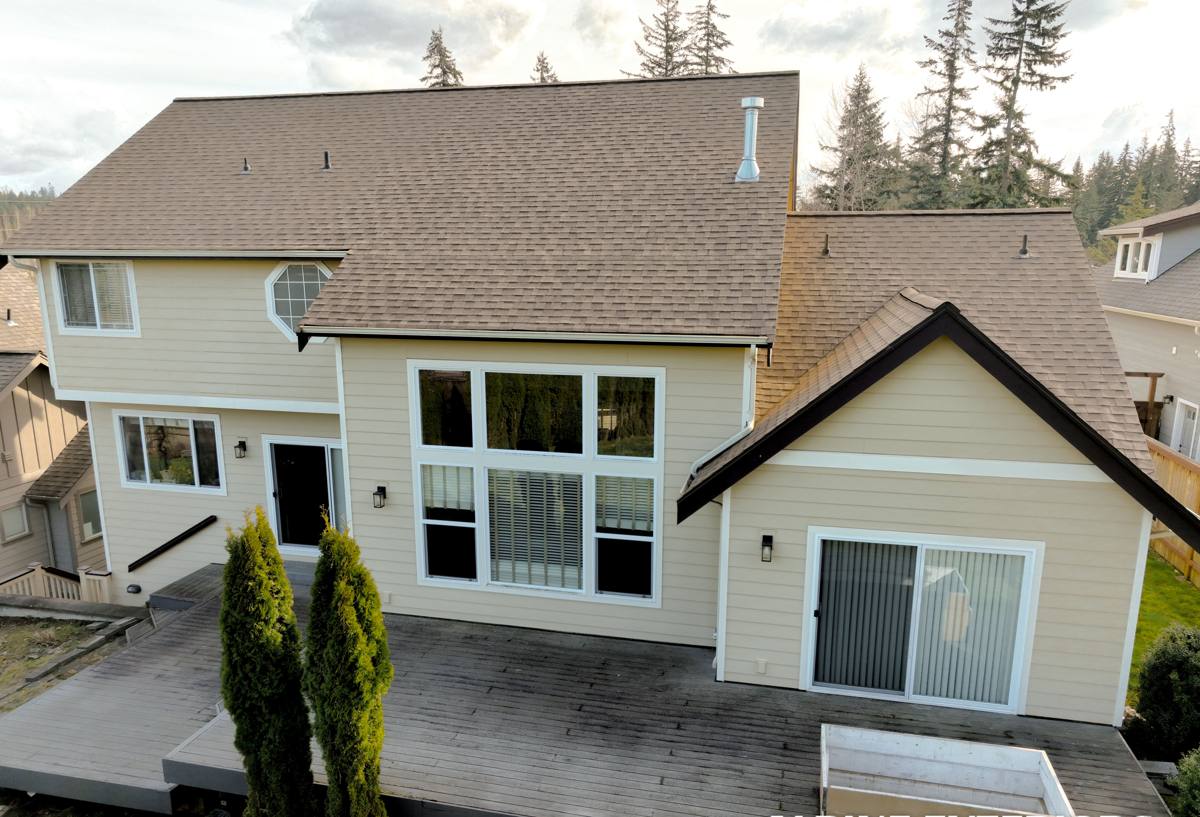
New-Construction vs. Replacement Windows: Why the Method Matters
New-construction windows are installed before the exterior cladding goes on, using a nail fin (or flange) that gets fastened directly to the sheathing and integrated with the house's weather-resistive barrier (WRB) before siding covers it. This is different from a replacement or retrofit window, which gets set into an existing rough opening with the old siding and trim already in place.
The nail-fin method gives us full access to the rough opening, the sheathing, and the flashing sequence — which is exactly what you want in a climate that sees this much sustained rain. Done right, it's the most weathertight way to install a window. Done wrong — fin not sealed correctly, flashing installed out of sequence, gaps left at the corners — it's also one of the more common sources of hidden water intrusion in newer homes, because problems get buried under siding and don't show up for years.
Why this matters more on a Happy Valley lot
On a shaded or partially wooded lot, wall assemblies dry out slower after wind-driven rain. A flashing detail that might forgive itself on a sunny, open site has less margin for error here. We treat every new-construction window opening as if it needs to shed water perfectly on its own, because on these lots, it often has to.
Frame and Glass Choices That Hold Up in This Climate
Frame material affects how a window ages under salt air, rain, and shade — not just how it looks on day one. We help homeowners weigh the trade-offs honestly rather than push one material for every project.
| Frame Material | Moisture & Salt-Air Behavior | Maintenance | General Cost Position |
|---|---|---|---|
| Vinyl | Won't rust or corrode; performs well in coastal air | Low — occasional cleaning | Most affordable |
| Fiberglass | Very stable dimensionally; strong resistance to moisture and temperature swings | Low | Mid to upper-mid |
| Wood-clad | Good performance if cladding and seals stay intact; interior wood needs protection from condensation | Higher — finish and seal upkeep | Highest |
| Aluminum | Prone to condensation and slower to insulate unless thermally broken | Moderate | Varies |
We don't push a single brand or material for every job. What we do insist on is matching the frame to the exposure: a north-facing, tree-shaded wall that stays damp longer benefits from a low-maintenance frame, while a more sheltered, sun-exposed elevation gives you more flexibility.
Getting the Water Management Details Right
Sill pan flashing
Every new-construction opening should get a sloped sill pan before the window ever goes in — a physical barrier that catches any water that gets past the window and directs it back outside instead of into the wall framing. This is a step that's easy to skip and impossible to inspect once siding is up, which is exactly why it matters.
WRB integration and head flashing
The weather-resistive barrier, the window's nail fin, and the head flashing above it need to be layered in the correct shingle-style order — each piece overlapping the one below it — so water is always directed down and out, never trapped behind a lap. Corners and fin intersections are where most leaks start, and they get extra attention on every opening we flash.
Moss, algae, and shaded exposures
On lots with heavy tree cover, sills and lower trim stay damp longer between rain events. We pay attention to drainage paths at the sill and keep sealant beads clean and continuous, since a compromised bead on a shaded wall has less chance to dry out before the next storm rolls through.
Meeting Washington's Energy Code Without Overspending
New construction in Whatcom County has to meet the Washington State Energy Code, which sets minimum performance targets for window U-factor (how much heat escapes) and, on more exposed elevations, solar heat gain coefficient (SHGC). For a Bellingham build, that generally means dual-pane, low-E glass at minimum, with the specific U-factor and SHGC values depending on your home's overall envelope path and how the rest of the plan performs.
The smarter approach is to look at your window package as part of the whole envelope, not in isolation. A slightly better glass package on the windows can sometimes buy flexibility elsewhere in the insulation plan, or vice versa — but that's a conversation to have with your builder and window supplier before openings are ordered, not after framing is done.
Our New-Construction Window Installation Process
The same steps apply whether it's a single custom home or a project with several openings to install, but the order and attention to detail don't change:
- Verify rough openings against approved window schedule before any unit arrives on site
- Install sloped sill pan flashing at every opening
- Integrate WRB, sill pan, and window nail fin in correct shingle-lap sequence
- Set window plumb, level, and square, then fasten per manufacturer spacing
- Apply head flashing and seal per manufacturer and code requirements
- Foam or insulate the perimeter gap without overpacking, which can bow frames
- Photo-document flashing before siding covers it, for the homeowner's records
- Final check for operation, weep function, and hardware before sign-off
Sequencing With Framing, Siding, and Trim Crews
Windows go in at a specific point in the build — after the WRB is on, before siding starts — and that timing has to be coordinated with the framing crew, the siding crew, and often the trim carpenter. Show up too early and the WRB isn't ready to integrate with; show up late and you're holding up every trade behind you. On a neighborhood infill lot with limited staging space, that coordination matters even more, since there's often less room to store materials or work around other crews.
We communicate directly with the general contractor or builder on scheduling, so the window install doesn't become the bottleneck on the project.
Why Local Experience in Happy Valley Matters
A crew that regularly works this part of Bellingham already understands what a shaded, moisture-heavy lot demands from a flashing detail, and doesn't need to relearn it on your project. That familiarity shows up in small decisions — how tight to run a sealant bead on a north wall, which frame material makes sense on a heavily treed lot, how much lead time weather typically requires between opening prep and window set. None of that is exotic knowledge, but it's the kind of thing that only comes from doing the work here repeatedly, in the same rain and the same conditions your house will actually face.
Cost Factors to Expect
Every new build is different, but a few factors consistently move the price of a new-construction window package up or down:
| Factor | Effect on Cost |
|---|---|
| Frame material (vinyl vs. fiberglass vs. wood-clad) | Higher-end materials raise unit cost and often labor |
| Number and size of openings | More and larger openings increase both materials and flashing labor |
| Glass package (standard low-E vs. upgraded for solar exposure or noise) | Upgraded glass adds cost per unit |
| Site access and staging | Tight infill lots can slow delivery and setup, adding labor time |
| Trade coordination | Tight scheduling with framing/siding crews keeps labor efficient; delays add cost |
We'd rather walk through these factors with real numbers for your specific plan than quote a blanket price that doesn't match your project.
If you're building in Happy Valley or elsewhere around Bellingham and want the window package planned and installed right the first time, we're happy to take a look at your plans and talk through options. Use the form below to request a free, no-pressure estimate — there's no obligation, just a straight answer on what your project needs.